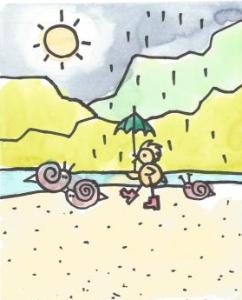
Drawing of a Kid Running
How Young Do I Teach My Child Drawing and Painting
We now know that our children are always learning. If you are alive you are learning. It is what we all do best if given two things.
1- Encouragement
2- Praise
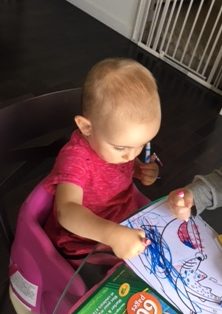
Aone to two-year-old is ready to have a great time being a little artist. Here is a girl who just started drawing her Artabet Lines.
These 6 lines are the best foundation for all visual learning and developmental motor skills.
Never too young, never too old.
This girl is 13 months old and her Mom has been showing her the 6 Artabet lines.
At this age,Round and Round, and Dot,Dot,Dot, are the favorites. Notice her perfect, classic grip on the felt.
The extra hand on the far right is that of a 3-year-old who has had no Artabet instruction as of yet. Her tight-fisted grip will be the first change to make.
Below is a three-year-old just starting their first drawing lesson. Start with the grip and you will have a great beginning. It takes some patience and repetition but after about 20 or 30 grip adjustments they will have it for life.
Check out our other blogs about what to teach young children when they start drawing.
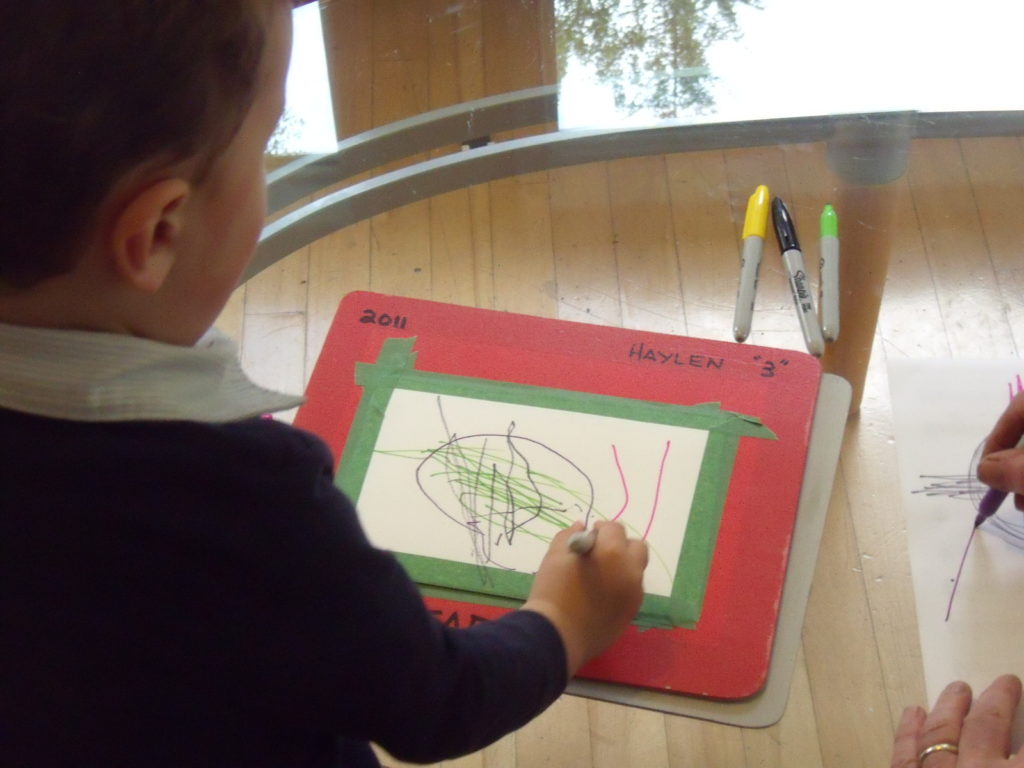
Good Grip …Great Start
A perfect grip makes for strong, confident lines.
Never too young and never too old to learn or to change.
Let me show you how I have successfully taught childrenart for the past 30 years.

Easy drawing for kids
How I Teach An ARTABET CLASS
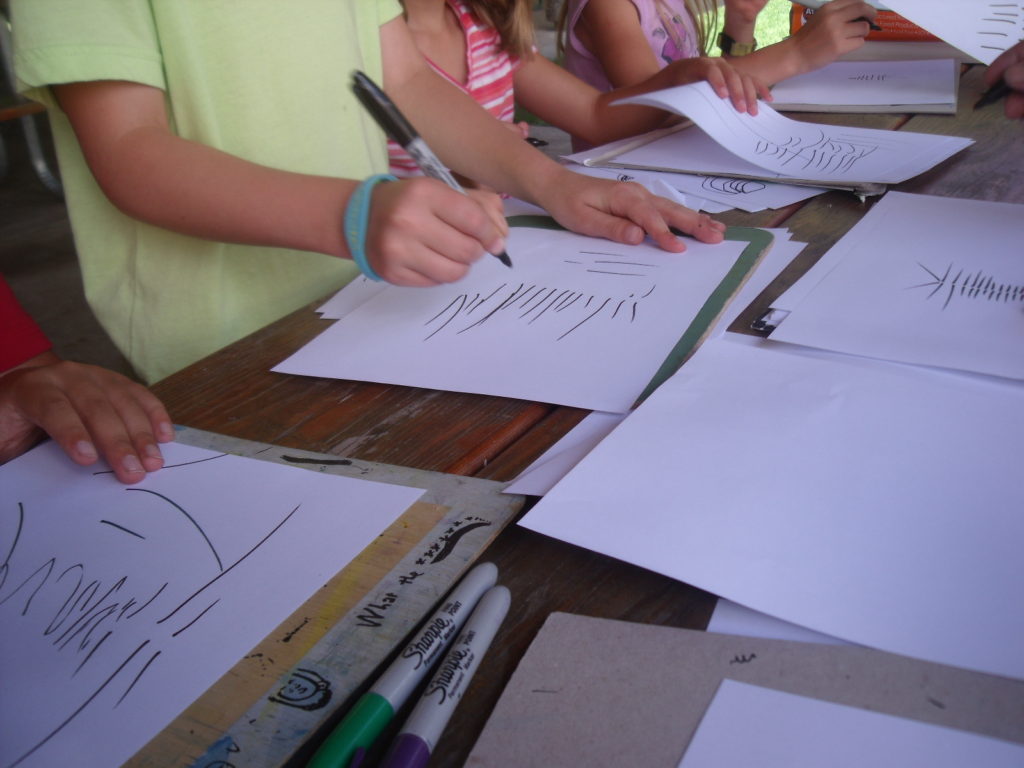
I always start with the Warm-ups using the 6 Lines of the Artabet
The Artabet is based on the fact that there are 6 universal lines that provide the building blocks for all the shapes in a drawing. This is a fundamental artistic principle and it is the best place to start your teaching.
Practice them and master them by starting every drawing session with at least 3 to 5 minutes of drawing them. Watch some of the instructional videos on this website to see how it is done.
Practice them and master them by starting every drawing session with at least 3 to 5 minutes of drawing them.
If your child or student is between 1 and 3, then all you need to show them are the 6 lines of the Artabet. Do not try to show them 'How to Draw', just do the 6 lines of the Artabet until they can draw them. That is their drawing.
Drawing is movement with lines – so learn the lines. As soon as they have a few down and can say the name as they draw it, you will be ready to draw one of the characters like the Ladybug as demonstrated in the 'How To Draw' videos.
Do not rush, force, trick or bribe them, to copy you. Let it happen through engagement and example. Play 'Art' with them.
You Teach Them the Artabet Language
Artabet is a language and we learn it from watching others. You draw and have a good time and they watch. Just like teaching them to talk and walk.
They always join in and start drawing.

Draw from the heart right from the start.
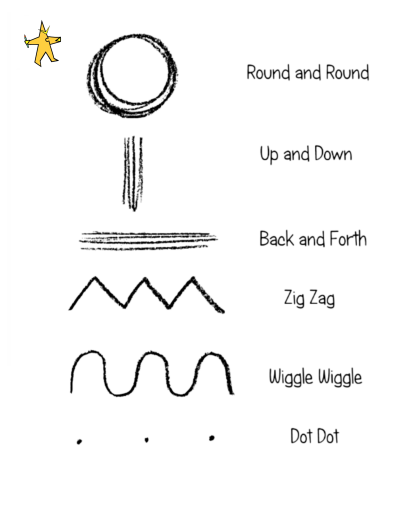
The Six Universal Lines Of the Artabet
The 6 universal lines of the Artabet are the movements in line that enable you to teach and succeed at teaching young children to draw.
Where did these 6 universal lines come from? Well, they have always been here much like 2 plus 2 has always been 4 and always will be. These are the elemental lines that describe everything we can possibly see in our Universe.
Think of how you use the letter symbols of your particular Alphabet to write about different subjects. Now think about how we use the six lines of the Artabetto draw what we see and imagine.
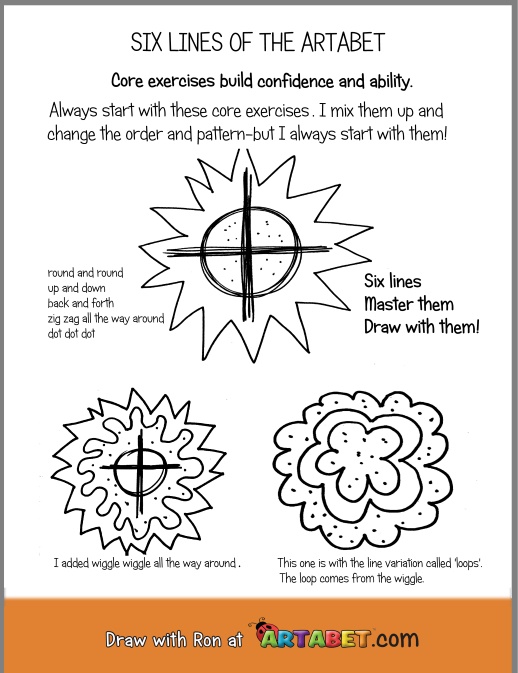
Invent lots of variations of the 6 Artabet lines and then warm-up with them.
How To Draw a Story
I teach lots of older children and adults from ages 12 to 90 and almost without an exception, few of them know how to create an engaging picture.
They have the ability to draw a character but lack the insight to use that drawing and Draw a Story with it. Let's draw a Character from the Artabet and then find out How to Draw a Story with it.
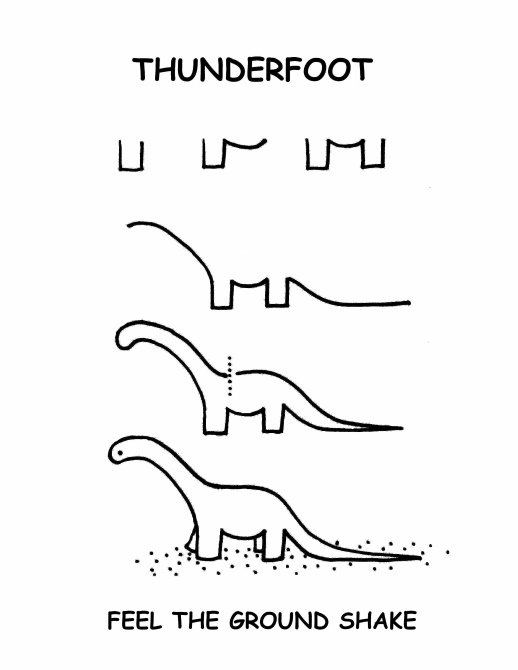
Here is Thunderfoot from the Artabet Book
All the drawings in this book are ordered so that each drawing builds on the skills from the previous one. After 30 years of trial, we know exactly what levels to introduce to the 3 to 12 year old and when to introduce them.
Thunderfoot is in the middle of the book.
https://www.theartabet.com/teach-your-students-how-to-draw/
Let's Draw a Story Using Thunderfoot the Dino.
We found a great bridge at the local park during Summer Art Camp this year and decided to add Fairies and Trolls and Dinosaurs.
Let your imagination be your guide.
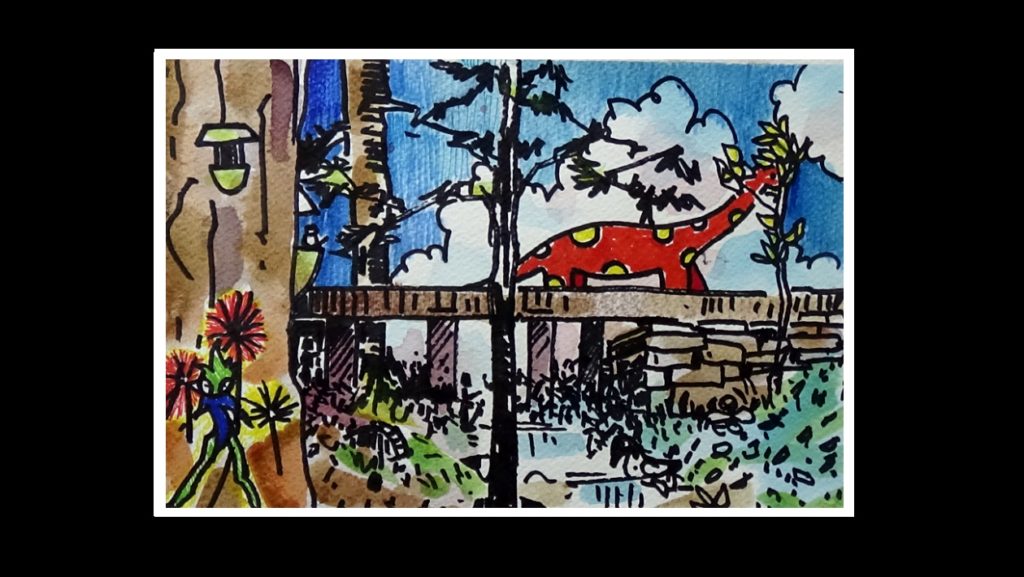
Imagination is the secret to Drawing a Story
Let's Use Baby Dino and Draw a Story
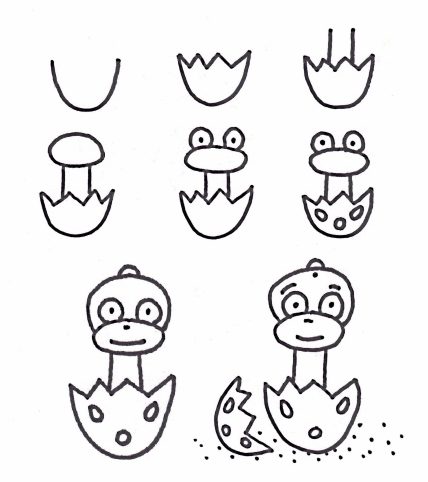
Simple Drawings lead to Great Pictures
What do I Have to do with the character to make it into a Draw a Story?
I will need to understand how to use the Three Lines below that will give my character a 'place' to be in, a home, a situation, somewhere that will begin to tell me something is going on. (Page 18 of the Artabet book)
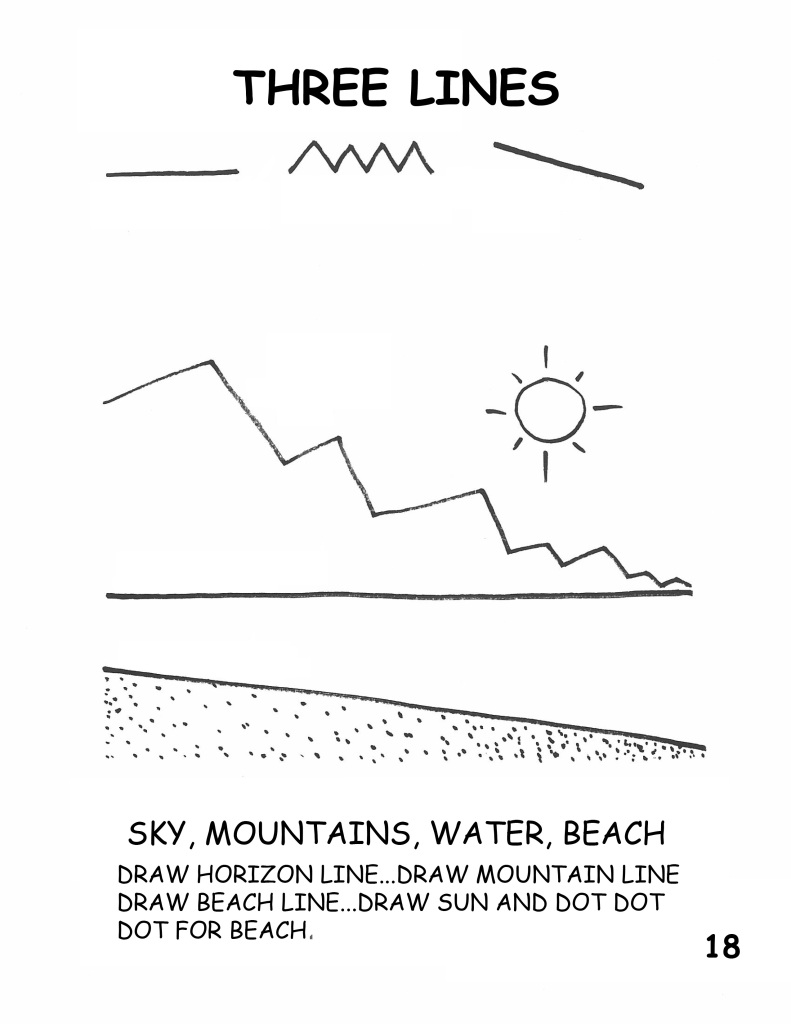
Three Lines that are essential for our Draw a Story
Can you find the Three Lines In the picture below? Now start using them to Draw a Story.
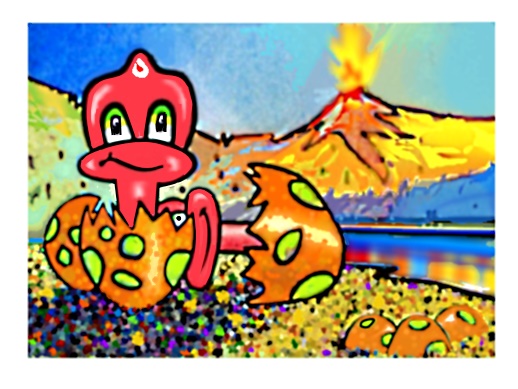
Dino Time at the Beach
Every class starts and ends with the 6 P's / Paper, Pencil, Pen, Paint, Purpose, and Principles
1-PAPER
I use inexpensive 20 lb. bond paper for the warm-ups and exercises and initial character drawings. I also use recycled paper that is good on one side. I also use inexpensive sketch books.
I do not use 'good' paper for the warm-ups and exercises as they are just for practice and not really for keeping.
I will keep the character drawings on this paper for reference or because I might use then as reference material for a more finished drawing on 'good' paper.
I use the heavier 'Cardstock' paper ( 30 lb. to 60 lb.) for Character drawings that we are adding color to with colored felts, colored sharpie pens, or colored pencils.
I use real Watercolor Paper (90 lb. to 140 lb.) cut into small sizes that range from 3 inches by 5 inches to 7 inches by 10 inches. Anything larger is not cost effective and is too large for ages 3 to 12.
Big papers take more time to complete. Smaller papers get finished and give your student time to finish. Stay away from BIG!
Cheap materials make poor art!!! Good materials last longer are more cost effective giving pride of accomplishment to your students.

Sunshine Bear
2- PENCIL
Little hands need little pencils.
I use the big Red Dixon Primary pencils and I cut them in half. The lead is soft and it is easy to make a mark. A Ratio of hand size to pencil size is crucial in the beginning.
Would you give an adult hockey stick or cricket bat to a 5-year-old and expect them to manage it. Violins are sized to fit small hands and so should the pencil.
Of all the drawing tools the pencil (unless it is cut to size) is the hardest to get a satisfying mark for the young art student. (Crayons will work very well with ages 16 months to about 4 years as they make a mark right away.)
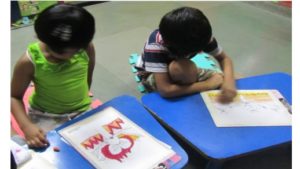
Drawing In India
Beware the Yellow Office Pencil with the little Pink Eraser at the top!!!
Erasers help us draw. They do not get rid of mistakes. There are no mistakes in Art!!!
Children who erase all the time grow to be unhappy perfectionists who never get anything 'perfect' and eventually give up drawing.
I always use black, erasure proof, black sharpie pens when I start a new class in a school.(A felt of less permanence might be advisable for the younger ones and of the non-toxic variety.)
For some, using a black marker is very tense undertaking, until they repeat the Artabet 'mantra' … "There are no mistakes in art, there are no mistakes in art, erasers help us draw, they do not get rid of mistakes, there are no mistakes in art."
Sharpies get the job done.
Every time someone says, "Oh I made a mistake!" we all begin the mantra again and all is peaceful … until it happens again. Then we say the mantra again. After 2 or 3 lessons we never hear the 'mistake' word again.
When a child is liberated from the fear of making a mistake – confidence is born! It is the doing not the done.
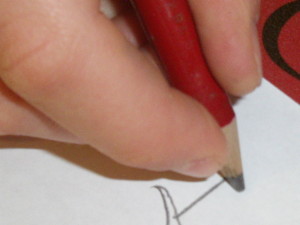
Small Hands Small Pencil
3- PEN
Pens come in many shapes, sizes, colors, and each has its own quality. I use the black sharpie pen that is available worldwide and is a favorite with my students. The sharpie is water-proof so you can paint over it and the drawing is still visible.
Other black felts may bleed when water based paints are washed over them. Always test your materials before teaching with them.
I have had teachers report to me that students who 'hated' drawing time before the Artabet now love it. One of the main reasons is that we use sharpies to start off with and so there are 'no mistakes'.
The black mark says it all for those students who were prone to erasing their timid little pencil marks and hiding behind their erasers.
We always repeat the Colored Sharpie Rule when we use colored felts or sharpies. "No filling in large spaces with sharpies!"

Small Spaces for Colored Sharpies
Big spaces need big tools and the tiny pointed nib on a sharpie or felt pen will take a long time to fill in a large space like a sky.
Invariably someone does not get it and begins the huge task of filling in that big blue sky one stroke at a time. We gently remind them that sharpies outline and fill in small spaces. We use paint for the big spaces.
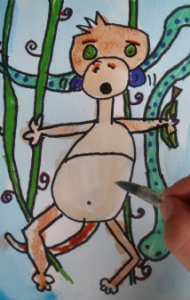
Brown monkey and blue background were done with paint.
Here is a black sharpie drawing of our favorite Panda that is 3 inches by 5 inches. The filled in areas are as big of a space as you would fill in with a sharpie or felt.
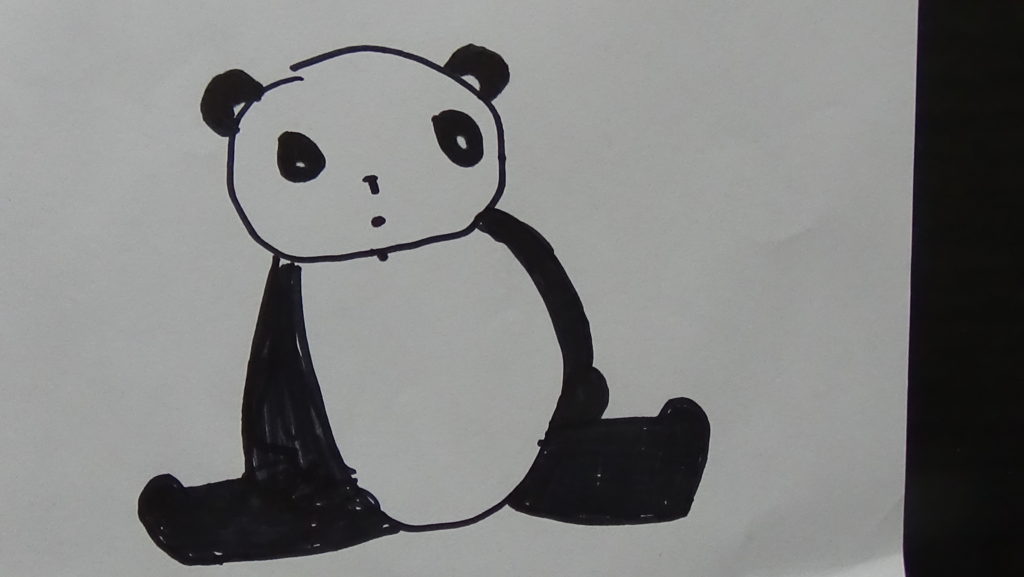
Black and White Is What Pandas Like.
Panda in black sharpie on 140 lb. watercolor paper. No story so far.
See below for Draw a Story with our Panda.
Here we have our Panda with colored sharpie accents and the big foreground and background spaces filled in with thinned down acrylic paint. (Student Drawing 10 years old)
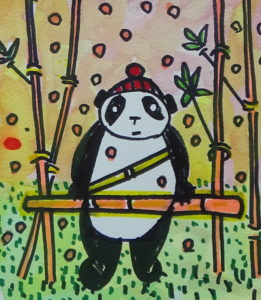
AH!!! Here he is all ready to get the Bamboo Feast ready for the 'Panda of the Year Award'.

4- PAINTING / Safe and Non-Toxic
Painting is a magic word for kids.
It ranks right up there with 'Play Time' and 'Snack Time'. It is my goal in every Artabet class in a school, a group class, or a special Holiday class to arrive at 'PAINTING TIME' in the last part of the class.
Here is how to get your paints ready, what kinds of paints to use safely, and how to economize and save money.
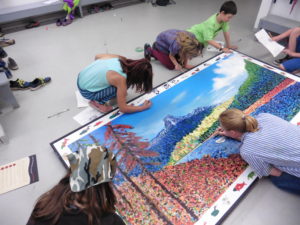
Paint a School Mural
Contrast is everywhere in nature. Always something bigger and something smaller. Draw and Paint with Principles, not Rules !
Select a small piece of Watercolor paper (5 in. by 7 in.) and tape it to a 10-inch by 12-inch board using green Painter's Tape.
Masking tape and Clear tape are too sticky and are hard to remove. Watch the video below and follow the steps outlined for painting success in your home, studio, and school. (Draw and Paint Dinosaur)
https://www.theartabet.com/draw-and-paint-dinosaur/
5- Purpose Of an Artabet Class
The purpose of Artabet is to entertain, engage, nurture, develop, and inspire.
It is also, in a classroom setting, a wonderful social interaction with bonding and sharing between all.
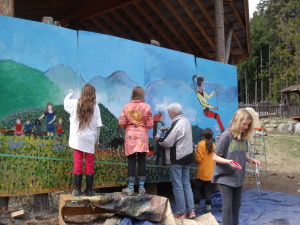
Teamwork gets the job done.
Art has never been a competitive endeavor. Not once in over 30 years have I seen this happen. Art is Fun when you know there are No Mistakes to be made.
6- Main Principles I Use In an Artabet Class
The principles (concepts and main ideas) that are used in the Artabet are of course the fundamental ideas that all visual artists use to express their feelings and ideas creatively.
They are easily understood when we teach art to children from ages 3.5 years to 12 years.They are not usually introduced before the 6 lines of the Artabet are known.
1- Near and Far and In Front and Behind
Study the pictures below and see the changes that are made with "In Front and Behind".
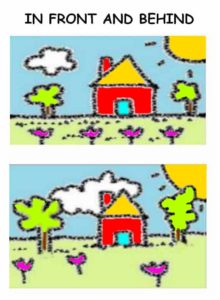
Some things are close Some things are far. Some things are in front. Some things are behind.
2- Hop Over Line
That line that goes through the picture from side to side hopping over everything in it's path. This line is a really big breakthrough for young artists and is rarely understood, used, or taught.
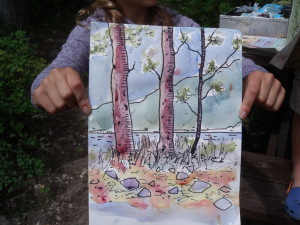
Three lines … a character or two …Some weather …and you have Drawn a Story using artistic principles and not rules.
3- Dark To Light (Contrast and Gradation)
Simple to use and seldom employed. The Great's discovered this principle about 700 years ago. Simply put something dark in front of something light.
Make something start dark and gradually get lighter. (Gradation or Scaling) We did that with the sky in this picture.
In the Darkest Space, there is always Light.
How Young Do I Teach My Child Drawing and Painting?
As soon as they start eating and holding things – and before they start texting!!!
These are the main principles to start with to teach your children or students to draw and paint. When you need some more let me know and I will give you a personal 'Tutorial' free of charge.
I LOVE TO TEACH PRINCIPLES!!!
Source: https://www.theartabet.com/how-young-do-i-teach-my-child-drawing-and-painting/
0 Response to "Drawing of a Kid Running"
Post a Comment